Leaking Roof Lantern: Diagnosing Where the Water Really Gets In
Water gets into a roof lantern through one of four places: the junction where the covering meets the upstand, the flashing laps, the glazing gasket around the panes, or the ridge cap and its corner joints. Tracing which one is at fault, rather than guessing and reaching for a sealant gun, is the difference between fixing the actual leak and hiding it for a season. This page walks through all four.
First, a quick check worth doing before anything else. If the damp only appears when it has been raining, particularly wind-driven rain, you almost certainly have a water ingress problem and the rest of this page applies. If the damp appears on cold, dry mornings regardless of weather and clears as the room warms up, that is condensation, a different mechanism entirely, and our page on roof lantern condensation covers surface damp, cold bridging and failed sealed units in full. We will not cover condensation again here. Everything below assumes water is actually getting in from outside.
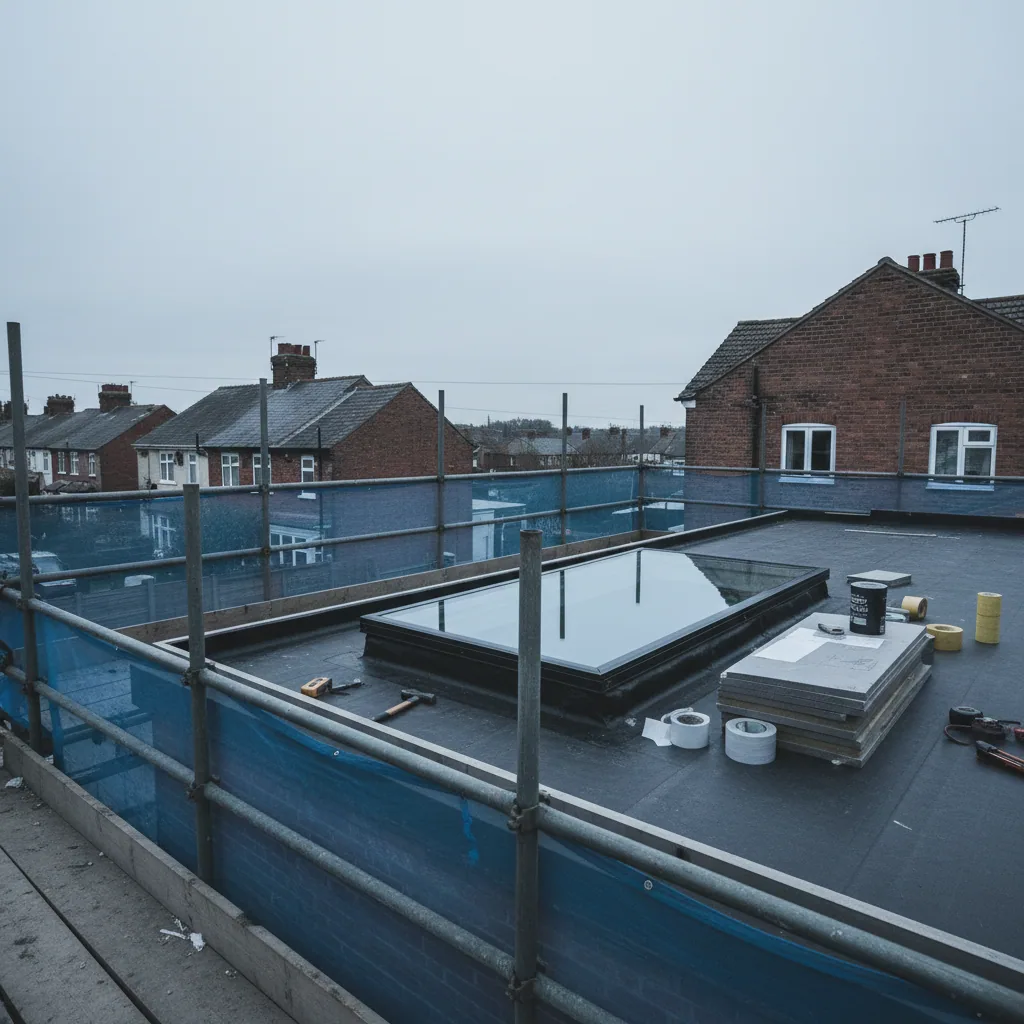
Why a leak needs tracing, not guessing
A lantern has several places where water can theoretically get past the weathering, and they are not equally likely, and they do not all produce the same symptom. A stain that appears at a corner points somewhere different from a stain that runs down the middle of a bar. Treating every leak as a glazing problem, or every leak as a flashing problem, means you will sometimes fix the wrong thing and watch the water keep coming, just from a slightly different route than before.
The four paths water actually takes
1. The upstand junction
This is where the roof covering meets the kerb and turns up its face. On a correctly built kerb, the covering runs up the full height of the upstand and dresses over the top edge before the lantern’s own base frame sits down on it. Water has to travel uphill to get past that detail. Where it fails, the usual cause is a covering that was terminated short, stopped part way up the kerb and finished with a bead of mastic rather than taken over the top. Mastic degrades, shrinks and cracks within a few years, and once it does the join behind it is doing nothing. Symptoms typically show as a stain low down on the reveal, often worse after sustained rain rather than a single downpour, because it takes time for water to find and track through a failed termination.
2. The flashing
Flashing carries water across the transition between the lantern and the surrounding roof or wall, and it relies on laps, the overlap between sections, being generous enough and fixed correctly to shed water rather than let it track backwards under wind pressure. Adhesive-only flashing details, common on cheaper original installations, are especially vulnerable, because the adhesive is the only thing holding the lap closed and adhesives fail with age and UV exposure well before the metal or membrane does. A flashing leak often shows up specifically during driving rain or high wind, because that is when water is being pushed sideways and upwards into a lap that would otherwise shed it downwards without issue.
3. The glazing gasket
Every glazed panel sits in a gasket, a rubber or EPDM seal that takes up tolerance between the glass and the frame and keeps water out at that specific joint. Gaskets shrink and harden with age and UV exposure, and they shrink fastest at corners, where the seal has to turn through ninety degrees and is under more stress than along a straight run. A gasket leak typically shows as a stain that starts precisely at a corner of a pane and, if it is left, gradually gets worse as the shrinkage continues. Corner leaks are common enough on cheaper systems that they are effectively a known weak point rather than a one-off fault, something we cover in more depth on our answer page about why roof lanterns leak at the corners.
4. The ridge cap
At the top of the lantern, the ridge cap covers the junction where the rafters or glazing bars from each side meet. It usually incorporates a small drainage path of its own and relies on a weathertight seal along its length and at each end where it meets the hip or corner detail. A failed ridge cap tends to show as a stain running centrally down the inside of a bar from the very top, sometimes reaching several panes below the actual point of entry, because water travels a surprising distance along a glazing bar before it finds a way through to the room.
| Water path | Typical symptom indoors | Usually worse in | What sealant does about it |
|---|---|---|---|
| Upstand junction | Low stain on the reveal, near the base of the lantern | Sustained heavy rain | Masks it for a season, does nothing for the covering underneath |
| Flashing laps | Stain near the edge of the lantern, often one side only | Driving, wind-blown rain | Buys a short period until UV and movement reopen the lap |
| Glazing gasket | Stain starting exactly at a pane corner | Any rain, worsens with age | Hides the gap, does not restore the gasket’s compression |
| Ridge cap | Central stain down a bar, often several panes below the entry point | Wind-driven rain and standing water at the ridge | Delays the symptom, the joint continues to move |
Tracing the leak on site: the hose test
Guessing from a single stain is unreliable, because water can travel a long way from the point it actually enters before it becomes visible on a ceiling or reveal. A hose test isolates the path properly. Water is applied at low pressure to one section of the lantern at a time, starting at the lowest point of the structure and working upwards, with someone inside watching for the first sign of ingress before moving on to the next section. Each stage runs for several minutes, because a slow path can take a while to show itself, and the point at which water first appears tells you which section is at fault, not just that a leak exists somewhere.
This is also the test we carry out at handover on every installation we complete, precisely because a visual inspection from the ground cannot tell you whether a detail is actually watertight under load. Doing it on an existing lantern that is already leaking works the same way, section by section, until the failing path is identified rather than assumed.
What one leak usually tells you about the rest. If a lantern is old enough that one gasket has shrunk back or one flashing lap has opened, the others were installed at the same time, from the same batch of materials, and have seen the same weather. A single confirmed leak is rarely an isolated fault on a unit past ten or fifteen years old. It is usually the first of several.
Why sealant-led repair work masks the failure instead of fixing it
Sealant closes a gap. It does not restore a shrunk gasket’s compression, it does not rebuild a flashing lap’s fixing, and it does nothing at all for a kerb that has been wet underneath for a couple of winters, which by the time a leak is visible indoors is very often the real state of the timber. A bead of mastic over a failed junction typically buys somewhere between twelve and eighteen months before movement, UV degradation or the next hard frost reopens the same path, or a new one nearby that was weakened by the same age and exposure. Repeated over several years, that adds up to a meaningful sum of money spent on a problem that was never actually solved, while the water that gets in during each interval keeps doing damage to the timber and the ceiling below.
The replacement decision
A leak becomes a replacement decision rather than a repair decision under any of the following conditions, and in our experience it is usually more than one of them together by the time a homeowner calls.
- The leak has recurred after a previous sealant repair, at the same point or a nearby one.
- More than one of the four paths is showing signs of failure at the same time.
- The kerb underneath has been wet for an extended period, which a hose test and a lifted section of covering will reveal.
- The lantern is approaching or past its second decade, putting the gaskets, seals and often the sealed units themselves near the end of their working life together.
- The frame shows visible distortion at a corner, which changes the geometry the gaskets were designed to seal against and cannot be corrected by resealing.
Our full answer on whether to reseal or replace a failing roof lantern sets out the cost arithmetic in more detail, and when a roof lantern should be replaced gives the wider checklist beyond leaks alone, including misted glazing and corroded fixings.
What a full replacement actually involves
Once the decision is replacement, the process is a straightforward strip, inspect and rebuild. The old lantern comes off, the kerb is exposed properly rather than patched around, and where the timber underneath is sound the covering detail is rebuilt on it. Where it is not sound, and on a lantern that has been leaking for any length of time it very often is not, the kerb itself is rebuilt to the correct height and fall before the new lantern goes on. That is the step a reseal can never reach, because a reseal never opens the kerb up to find out what state it is actually in. We cover the full stage-by-stage sequence, including how the roof is kept watertight overnight, on our main roof lantern installation page.
If the kerb itself turns out to be the primary problem rather than the lantern above it, undersized, unlevel or built without insulation, our page on when the upstand is the problem, not the lantern explains how that is identified separately and why it usually needs rebuilding as part of any replacement regardless of the lantern’s own condition.
The replacement conclusion, stated plainly. A traced leak that keeps coming back is not asking for a better sealant. It is telling you the kerb, the gaskets or the unit are at the end of their working life, and the only intervention that ends it is replacing what has failed. We do not offer sealant-led fixes as a service, because they do not solve the problem this page has just walked through.
Frequently asked questions
How do I know if my roof lantern is leaking or just showing condensation?
A leak tracks with rain. Damp that appears or worsens specifically during and after rainfall, particularly wind-driven rain, is water ingress. Damp that appears on cold, still mornings regardless of recent rain and clears as the room warms up is condensation. See our condensation page for the causes and fixes if that matches what you are seeing.
Can a leaking roof lantern be traced without taking it apart?
Largely, yes. A staged hose test, working from the lowest point of the structure upwards and watching from inside, isolates which of the four water paths is failing without needing to dismantle anything. Confirming what is happening under the kerb sometimes needs a section of covering lifted, which is normal at survey stage.
My roof lantern is leaking heavily in a storm right now. What should I do?
Contain the water indoors, do not go onto a wet flat roof, and photograph the staining pattern before it dries, since that pattern helps trace the path later. Our page on roof lantern leaking in heavy rain covers the immediate steps in full.
Is it ever right to just reseal a leaking roof lantern?
Rarely, and never as a lasting fix. A reseal can buy time on a very recent, isolated fault, but on any lantern old enough for a gasket or flashing lap to have failed, the surrounding details are usually at a similar stage of wear. See reseal or replace a failing roof lantern for the full reasoning.
If your lantern is leaking and you want it properly traced rather than guessed at, we survey the roof, run a hose test where useful, and give you a written, fixed price for the replacement it needs. Request a fixed quote for roof lantern replacement in Ipswich, Suffolk or north Essex.
Thinking about this job? We survey across Ipswich, Suffolk and north Essex and give you a fixed price before any work starts, with a 10-year workmanship guarantee.